Wednesday, June 26, 2013

Quilting Quotes/Signs

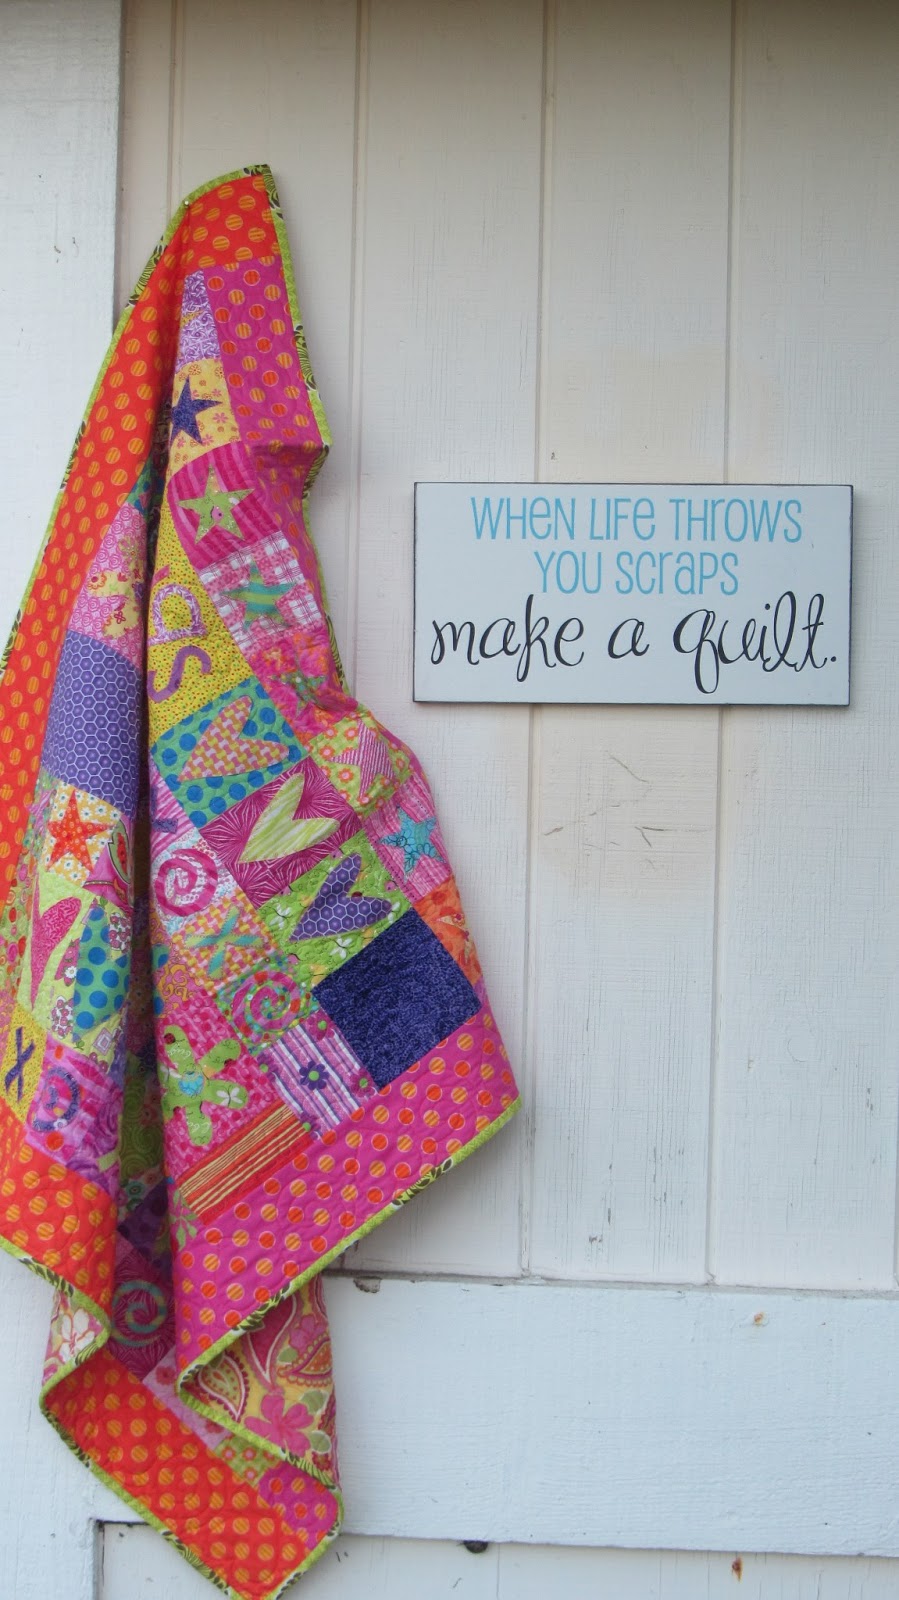
My mom and sisters are very into quilting and sewing. I decided to make a few different vinyl signs to relate to quilting. Although one quote has nothing to do with quilting but my mom insisted on using the quote. I have a whole list of quotes that are related to sewing/quilting, but I only picked two. I will post the list up on my website. There were a lot more quotes than what I have but I only picked out the ones that my mom and sister, Stephanie, liked the most. Here's a link to my quotes page http://ourlittlevinylshoppe.com/quotes.html. Scroll down to the buttom of the page. Also if your interested in these vinyl's then here's a link to my shop page https://www.etsy.com/shop/OurLittleVinylShoppe. I know National Quilting Day passed a while back ago (March 16th) but next year we will definitely be part of that.


Friday, June 21, 2013

First GIVEAWAY (CLOSED)

OUR FIRST GIVEAWAY.
There will be FOUR WINNERS.

The giveaway will end June 28th, 2013 12pm. All you need to do is sign-up for our newsletter, First/Last Name and email. Winners will win a Patriotic Vinyl, image below. Winners will have 48 hours to respond before another will be chosen. You do not have to be a blogger to win or enter. Good luck!
(22 x 8 inches) Black Vinyl Only

Tuesday, June 18, 2013

Welcome Sign

Here's a new vinyl to purchase on our blog. Simple but cute "welcome" sign. This size is in a 10 x 3 inch (I believe) but we provide other sizes.
 
(The plate was purchased at TJ-Maxx, it's a hit and miss store though)

Family Home Sign

My mom saw this sign that she wanted to do in her home. She found it from http://www.thehouseofsmiths.com/2010/05/family-sign.html. She insisted on doing it pretty much the exact same as Shelley's. Although with a couple changes.
 
First you need wood (any size your wanting). We used a 54 x 7.25 inch board and 48 x 2.5 inch board. Second is painting it. We used Glidden Duo Marshmallow White, double coat. After it's dry, add two hook on each board, that way it hang from the other (sorry for no picture). 
Vinyl time! After their all cut out and everything, we just put each on to where we wanted them.
On some of the bigger vinyl, like from the photo above and below, you can either tape it in the middle and put on one size at a time or just stick the whole vinyl piece on in one go.
 

When your done with the vinyl, just hook it together and your done. Really easy project, but a little time consuming. I think it took about 4 hours for everything (mostly waiting for the paint to dry). Cute idea and project though. Thanks Shelley. You're amazing.

Wednesday, June 12, 2013

Newsletter Signup

I'm going to add a newsletter signup on my blog and website. I'm going to start to have special offers once a month. This way to build my website more. Everyone loves a good deal. Sign up to receive these offers.

Birthday Calendar

I've been out of town for a couple weeks. I started this project the day before I left and came home wanting to finish it. I finally did 3 weeks later.


I've seen many different ways to make a birthday calendar but from an inspiring DIY Tutorial from http://www.classyclutter.net/2010/11/gift-idea-happy-birthday-sign.html. I've decided to make one similar to there's. I do love how similar and cute there calendar is. Here's step by step on how I created mine. If you are interested in having me to make your vinyls for you. Just shoot me an email ourlittlevinylshoppe@gmail.com and will gladly give you a quote.

 First, I went to Michael's and bought a plaque of wood. I think it was $2. I sanded it down and painted it black (two coats). I painted the top of the wood in white paint and wipe it off before it dried. Giving it this look.

 After the paint was completely dried. I cut out my vinyl's and place them on. I decorated it with some flowers I had from a previously project (I believe I got them from Michael's also). I added the bees (also from Michaels) and for hot glued the knob (temporary until I screw it in).

 Moving on to the tags. I bought some mustard color card stock paper and printed a stencil out on them and hand cut each of them. With a lot of patients and aching hands, I finally finished. I was gonna cut them out on my vinyl machine but decided not too. You can cut them out or buy some already precut from any craft or scrapbooking store. But I want this particular style for the tag. Anyways....

 I distressed and inked the edges of the tags, using Black Distress ink. While they were drying up. I cut my birthday vinyl's out.

 I place each vinyl on each tag. Note: I reused the same small application tape about 4-6 times before it got harder to stick vinyl to it. Just a way to save application tape.

 Finally, I tied twine around the tags.

I put it all together and came out pretty much what I had in mind. Besides screwing the knob in, I'm done. I have 28 birthday tags (including my baby that's on the way) I can't wait to hang it up. Not I won't forget anyone's birthday. Just a good reminder, especially for those who don't have internet or access to Facebook or whatever.